ETSY: New Products!!!

Hi all,

It’s been a long time coming but I’ve finally got our new range of jewellery up on our ETSY page!

We’ve got new earrings, necklaces and collar clips which are perfect little gifts for Christmas. I have a few already made up and all are make to order. So please check out our page and see if there’s anything you like!

Processed with VSCOcam

Processed with VSCOcam with a5 preset

Processed with VSCOcam with a5 preset

Processed with VSCOcam with a5 preset

Processed with VSCOcam with a5 preset

Processed with VSCOcam with a5 preset


I hope you like them!

Take care,

Elisa Signature

Tutorial ~ Easy Peasy DIY

Hi all,

So I decided it was about time for a DIY tutorial, don’t you think?

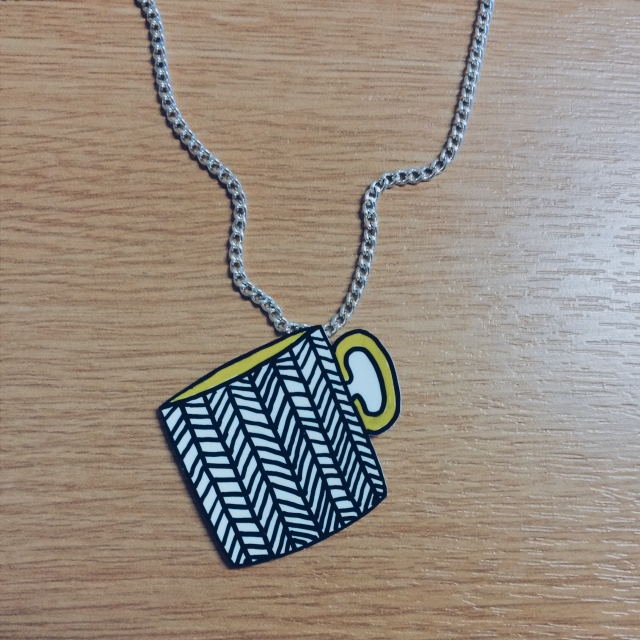
I was so inspired by the hand crafted Jewellery at Black Box Boutique the other week that I went straight home and did some making! Obviously I’m just a hobby crafter so don’t have access to any technical tools so I decided to go simple and use craft clay.

This takes 30mins so get your oven on, wack it on to 130 and start following these simple rules.

You need five things:

  1. Craft clay
  2. A skewer
  3. Hot oven (130 – or whatever temp you craft clay says)
  4. Nail varnish
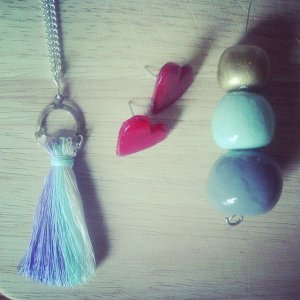
  5. Jewellery bits – chain, clasp, wire and connecting rings.

Once you have these things simply follow these super easy steps.

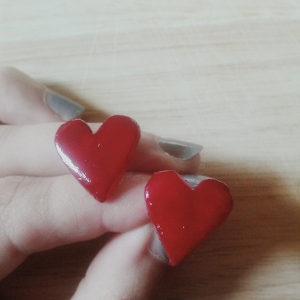
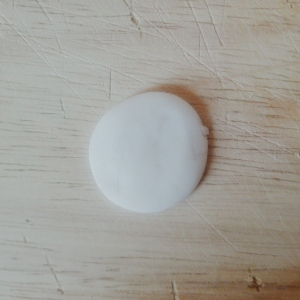
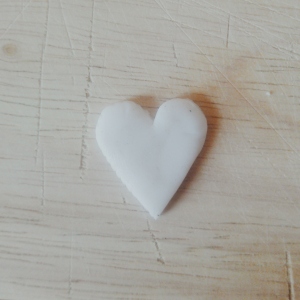
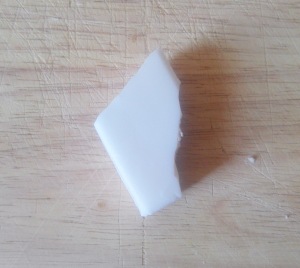
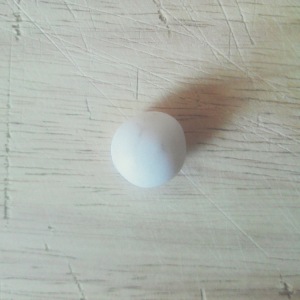
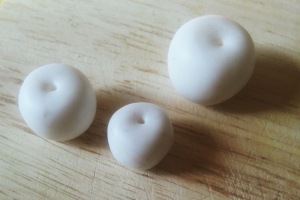
1// Portion out your craft clay. Kneed it until soft and roll into a ball.

Processed with VSCOcam

Processed with VSCOcam with t1 preset

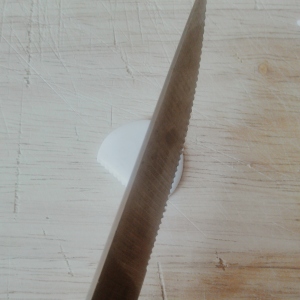
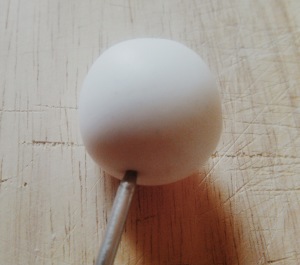
2// Once you have the amount of balls you want, at the size you want, start using the skewer to make them into beads:

Processed with VSCOcam with m5 preset

Processed with VSCOcam with m3 preset

3// Bake in the oven for 25 mins (or however long the craft clay packet says) and leave to cool.

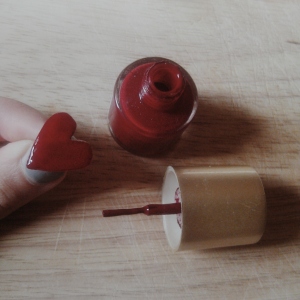
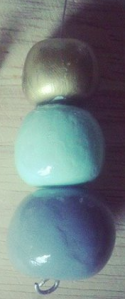
4// Once cooled use the nail varnish to paint them. The nail varnish gives a lovely shiny finish. Leave to dry.

5// Once dried use the wire to attach the beads together:

Bend the ends like this from the stackable beads tutorial

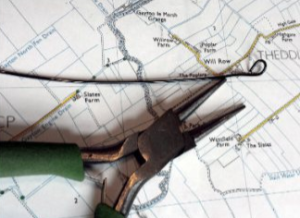
Bend the ends like this from the stack-able beads tutorial

Untitled

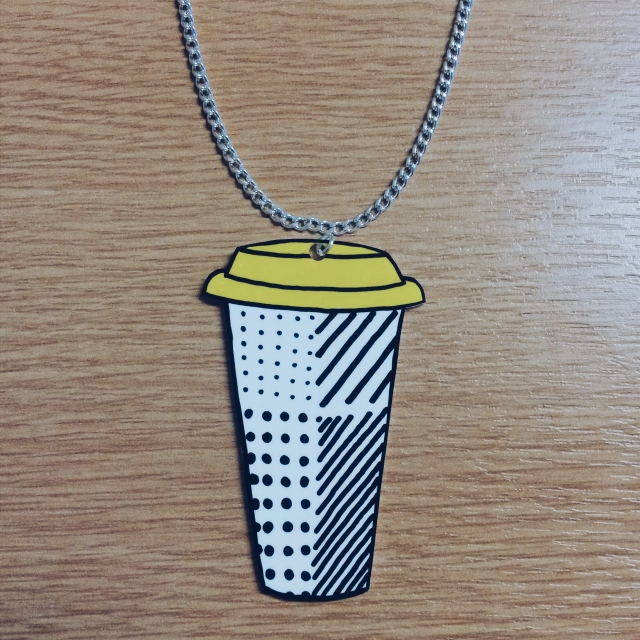
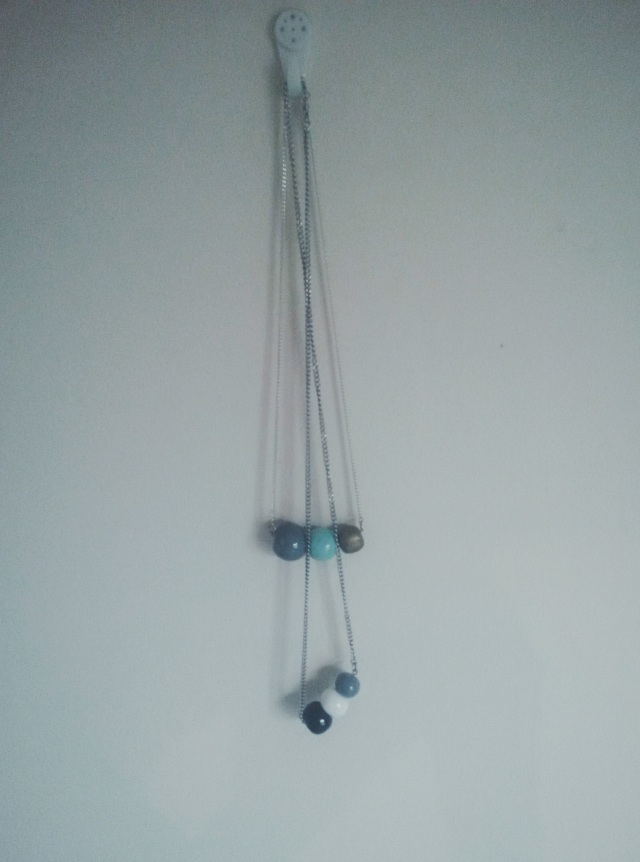
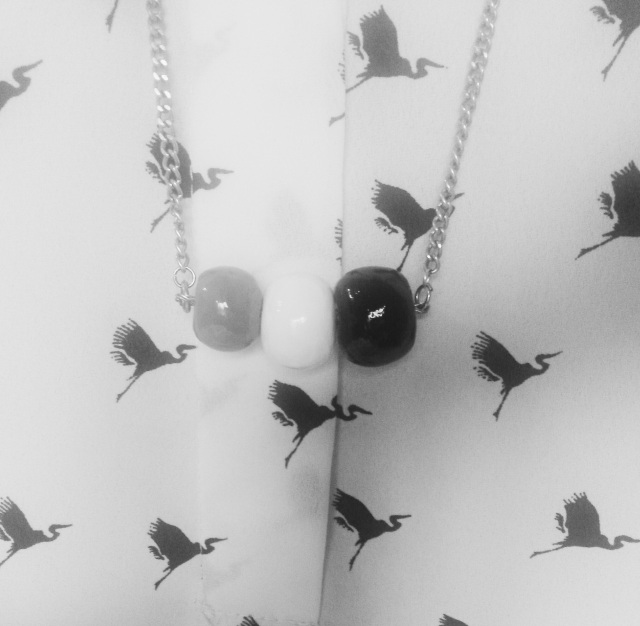
6// Use the connecting rings to attach the bead pendant to your chain. Add the clasp. And boom: you’re done!

Processed with VSCOcam with f2 preset

Processed with VSCOcam with b1 preset

Really easy ay!

Take care,

Elisa Signature

Tutorial ~ heart shaped earrings.

Hi all,
Follow my blog with Bloglovin

Processed with VSCOcam with m5 preset

It’s been a great week of crafting: I got the old crafting clay out and made some earrings I’ve been planning on making for ages! These aren’t a new idea or anything but I’ve been wanting these for a long time and it was so great to finally have the time to make them.

Here’s a step by step on how I made them:

1// Gather your materials.

Processed with VSCOcam with g3 preset

Craft clay

Earring backs

Nail polish

2// Kneed the craft clay and roll into a ball. Flatten the ball.

Processed with VSCOcam with t1 presetProcessed with VSCOcam with m5 preset

3// Use a craft/clay knife (or a regular knife in my case) to cut out a heart shape.

Processed with VSCOcam with m5 presetProcessed with VSCOcam with m5 preset

5// Bake in the oven at 110c for 30 mins. Do not bake over 130c!

6// Wait for the hearts to cool then glue the earring back to the back of them.

Processed with VSCOcam with m5 preset

7// Use the nail polish to paint them. Nail polish gives a really nice finish, it dries quickly and it leaves no brush marks.

Processed with VSCOcam with m5 preset

Ta da! Processed with VSCOcam with m5 preset

As a side note – in the 30 minutes these were baking I made a couple more things with the craft clay and with some of the thread I hand hanging around.

10352032_10154460627915725_8252803049421036747_n

Do you like? I was thinking of putting some of these things on our ETSY  page.

Take care,

Elisa Signature