Hi all,
Is it just me or does anyone else get really hooked on particular crafts or ideas? At the moment I’m captivated by beaded jewellery and dip dye crafts.
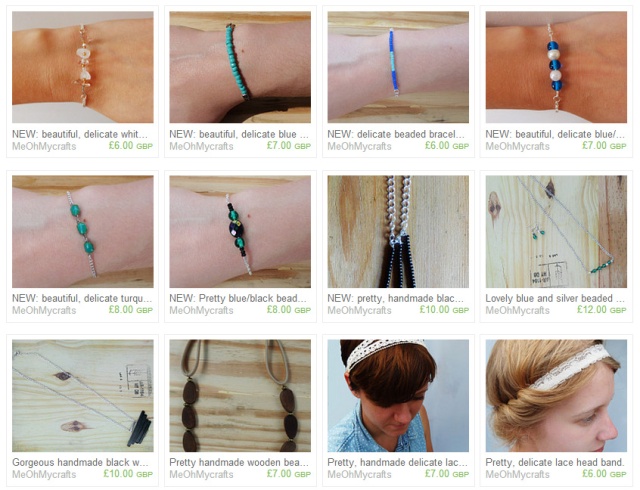
Yesterday I spent the afternoon making loads of beautiful beaded bracelets. I love them.
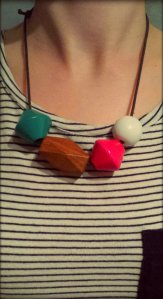
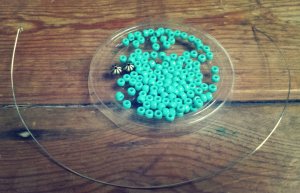
Today I’m going to share a tutorial with you on how to make your own Beaded ‘U’ Necklace. I love these and have been making a few recently with the seed beads I discovered the other week. Don’t you just love the colour of these beads?

You will need the following
~ Wire cutters
~ Round nose pliers
~ Chain nose pliers
~ Chain
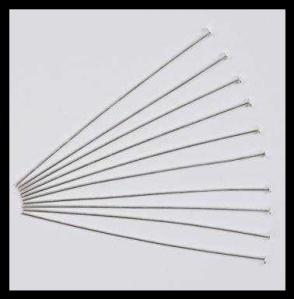
~ Wire (I used 4mm)
~ 3 jump rings
~ 1 larger jump ring
~ Trigger clasp
~ Beautiful beads (around 10g)
~ 2 decorative beads for the ends (optional)
Step 1. Cut your wire to your preferred length. I cut mine to about 15cm.
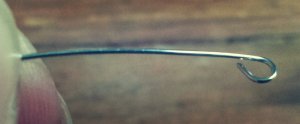
Step 2. Create a hoop at the end of your wire using the round nose pliers
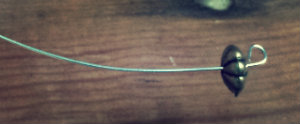
Step 3. If using an alternative bead for the end, thread this onto your wire. Ensure it is secure and it doesn’t come off the end. If your hoop was tight enough it should be secure
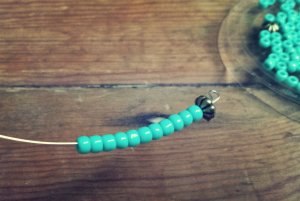
Step 4. Thread the other beads onto the wire, leaving about 2cm.
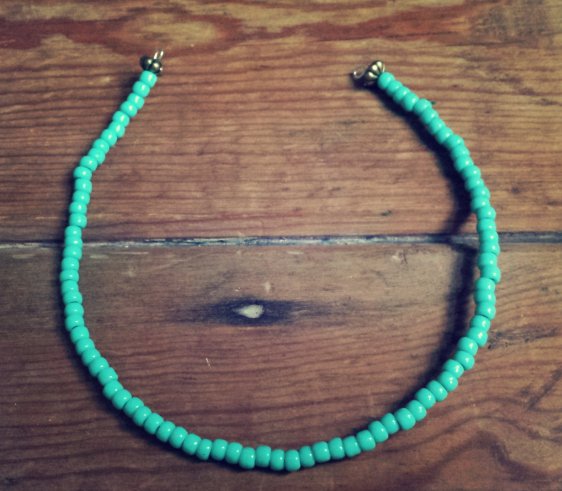
Step 5. You should now have about 2cm left. Add the second of the alternative beads if you are using them. Then using the round nose pliers create another hoop with the wire ensuring it closes tight next to the bead at the end. Once complete it should look something like this.
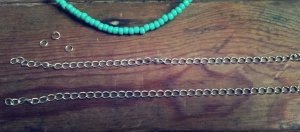
Step 6. Now to turn it into a necklace. Cut two strips of chain of equal length. I made mine 20cm again but this was too long. I would recommend 15cm so that it doesn’t hang too low.
Step 7. Using the jump rings nd the pliers attach one end of the chain to the hoops on the wire. 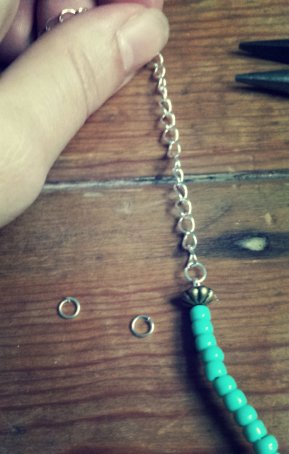
Step 8. Using the pliers and a small jump ring attach the trigger clasp to the end of a piece of chain. 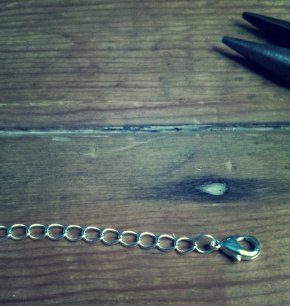
Step 9. Again using the pliers attach the larger of the jump ring to the end of the other piece of chain. I added a bead for decoration. 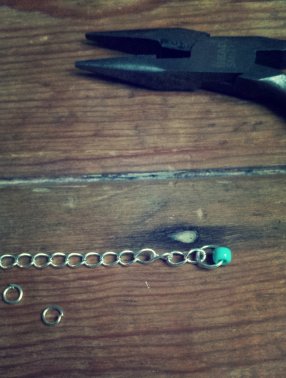 Step 10 . It’s complete.
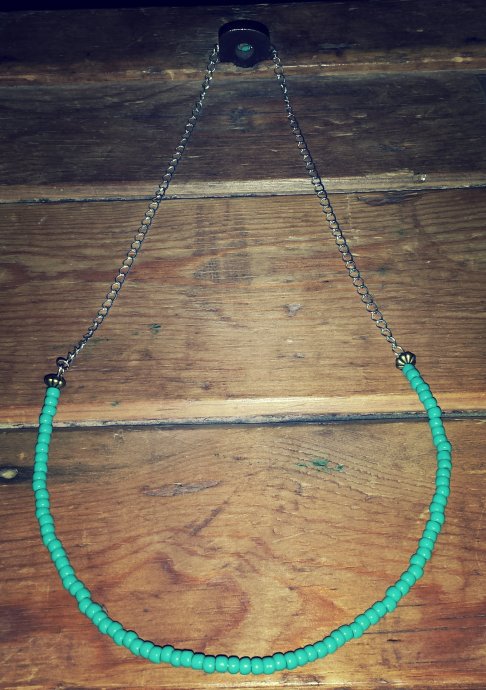
Enjoy!


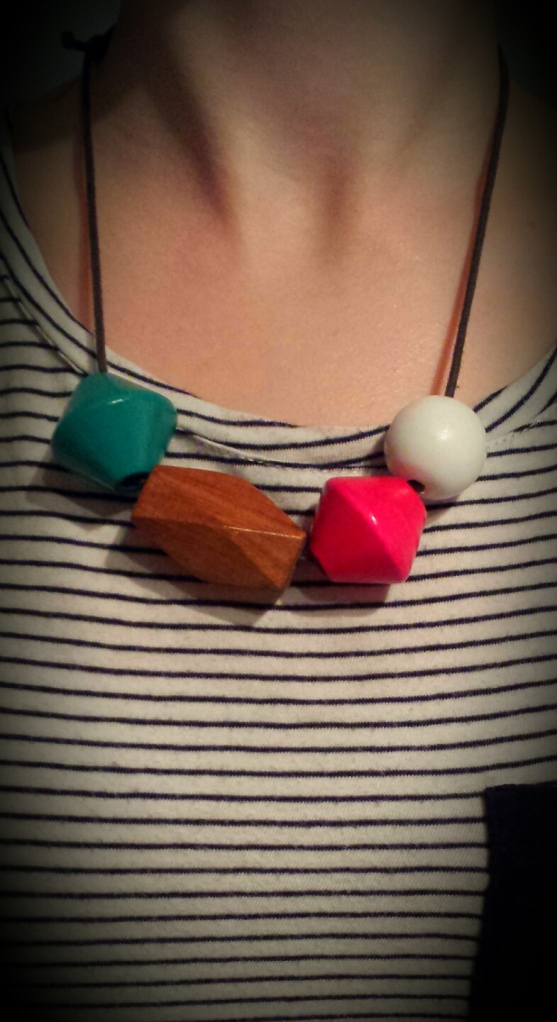
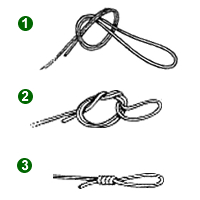
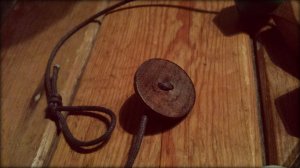
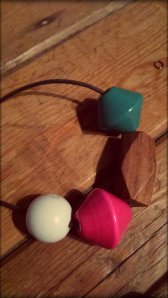 Step 3. On one end of the leather thong make a double overhand knot so you have a hoop.